
So the oven is completed except the stucco and paint, which we will finish after the pavilion that houses the oven is built. We are now working on our bread recipe and the layout of our lot for the future cooking school. Our concept is garden to plate cooking and the education of everything in between. I’m keeping a journal of this process and planning to write a companion book called “From Bricks to Bread, a journey into the wood-fired bread oven”. After a lifetime of cooking with wood I am now going in this natural direction. Bread and the wood-fired oven are both a real challenge. They require a dedication and the learning of the natural cycles of both the oven and the life cycle of natural leavens. I’m enjoying this process much more than I can express. Once again I’m excited about cooking. Kathy and I talk about these processes and possibilities for hours on end. We are planning our next stage of life. It will be based around the wood-fired oven and a cooking school. If this works out Kathy can work from home and we can cater, teach, entertain and offer a location for others to give classes and workshops. We are also going to offering a location for meetings and even weddings.
Below are the pictures of the last stages of the oven build for those that are interested.

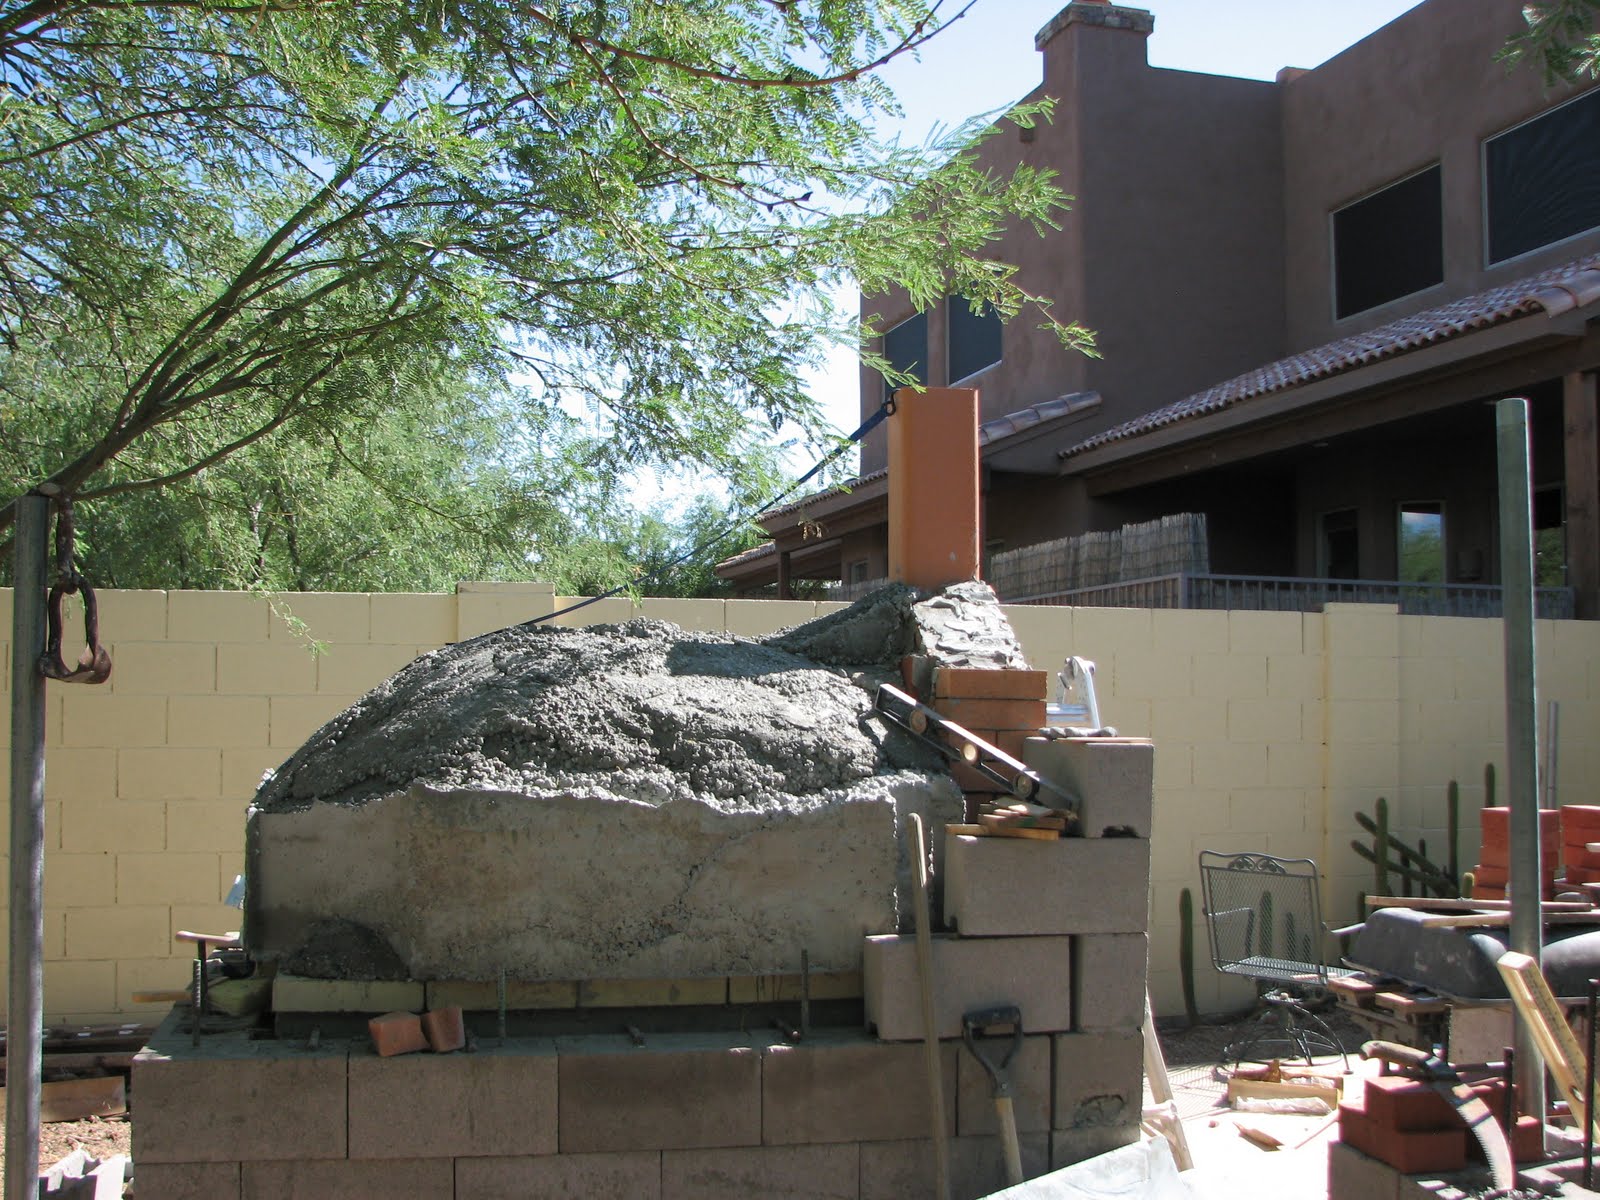 This shot shows all of the cladding before we close it in the walls and add final insulation.


Love the way you have built a roof into the oven itself. Do you think this added much work? It looks like you have come up with a fairly simply design that looks really good.
ReplyDeletePizza oven lover
ReplyDeleteThis is a highbrid it makes a great pizza but will do things that a cob oven will not do. Don't get me wrong as I don't want to look like a "cob snob." This is a classic "Black oven" This style of oven has been made for thousands of years and has been reported to do 16 bakings off of 1 fireing. As for the roof it is part of the design and allows for more insulation. I baked a turkey on thanksgiving and was working around the oven 4 days later. The door had been off and the night time temperature was around 50f. I used my infared thermometer the oven was holding 90f. If you want to know the design I'd love to share it with you. Thanks for your question and thanks for your work with cob. I think it's so important. We are building a straw bale building for our class room.
Warmly,
Mad Coyote Joe
haha, I dont think you are a cob snob. I havent seen much quite like your design, I certainly don't doubt it has heaps and heaps of thermal mass. If we put the door on our cob ovens it will be warm the next morning, but certainly not 4 days later. thanks for putting up the extra pictures, have a much better idea of how you built the dome now. I am interested in the roof part, as the cob really needs to be covered from the weather, and this looks like quite a good way to do it. Great to hear you are building a Strawbale house. An earth coating works seems to be the go on those as well. I am quite interested in low cost building techniques, will be sure to keep an eye on what you are up too from down under.
ReplyDeleteWe build a foundation with rebar and rebar dowells, then dry stack block, checking for level as we stack. we fill the wall with cement and while the mud is still wet we put in anchor bolts for the plate. Next we stucco the outside of the wall, then bolt down a plate for rafters. Make bird blocks which allow the space around the oven to breath and put them in between the rafters. Nail on the face plate, sheet the roof, put down a vapor barrier and a drip edge, then it's on to the roofing, be it tile, tin, shingles or whatever. I have pictures if you need and I can go into more depth. Please share my site and when I'm (guessing) in Australia I drop by a cook some real Southwestern eats for you and the family.
ReplyDeleteWarmly,
Mad Coyote Joe