This post was originally from December 2010. I get a lot of questions on building a wood fired oven. This walks through the process in pictures. Please froward any questions with an e-mail address and I'll get back to you.

So the oven is completed except the stucco and paint, which we will finish after the pavilion that houses the oven is built. We are now working on our bread recipe and the layout of our lot for the future cooking school. Our concept is garden to plate cooking and the education of everything in between. I’m keeping a journal of this process and planning to write a companion book called “From Bricks to Bread, a journey into the wood-fired bread oven”. After a lifetime of cooking with wood I am now going in this natural direction. Bread and the wood-fired oven are both a real challenge. They require a dedication and the learning of the natural cycles of both the oven and the life cycle of natural leavens. I’m enjoying this process much more than I can express. Once again I’m excited about cooking. Kathy and I talk about these processes and possibilities for hours on end. We are planning our next stage of life. It will be based around the wood-fired oven and a cooking school. If this works out Kathy can work from home and we can cater, teach, entertain and offer a location for others to give classes and workshops. We are also going to offering a location for meetings and even weddings.
Below are the pictures of the oven build for those that are interested.
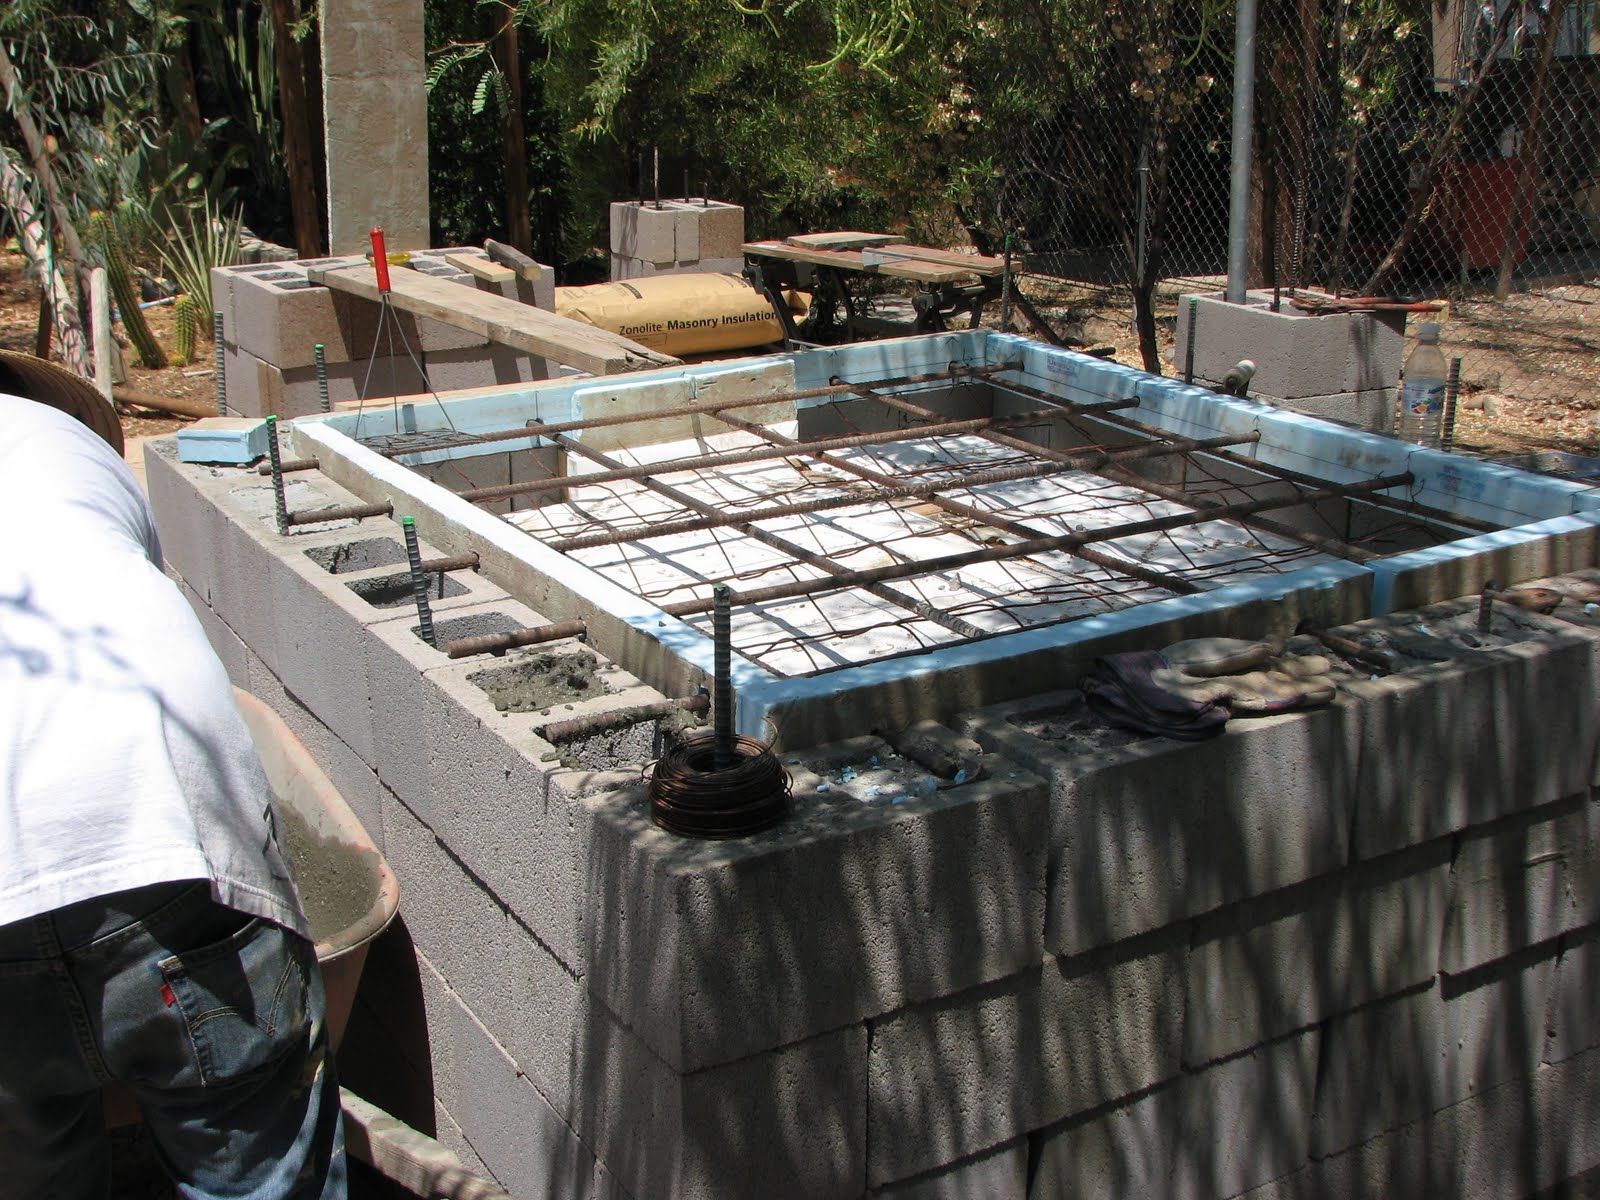
This shot is of the walls and the pour forms for the insulated hearth slab.
There are two layers of concrete, the bottom is insulated concrete, to hold in the thermal mass of the upper slab which is just sack mix concrete, notice the blue foam above that keeps the upper slab from touching the walls. This allows for expansion without cracking the walls, as the hearth heats up.
Wire mesh is bent to tie the two slabs together then tied to the rebar.
The hearth slab is supported by the rebar.
One of the most important bits of information that I have learned while building this oven is to mock up, stop, look and think, before setting in mortar. The shot above shows a hearth and oven wall mock up made with refractory. After looking at this I decided to do the walls with fire brick for more thermal mass. I'm glad I thought this out.
By mocking up the firebrick walls I could see how the layout would work. Below I used foam (it was free, use what you have on hand) to see the arch and as a guide while mortaring the bricks.
A mock up of the oven door opening.
Use shims to follow the curve while the mortar sets.
The mortar coat holds the firebrick together and acts as additional mass.
Next the oven is wrapped in two layers of heavy duty foil.
Then covered with wire mesh. Notice the pieces of brick used to set the mesh in the middle of the cement.

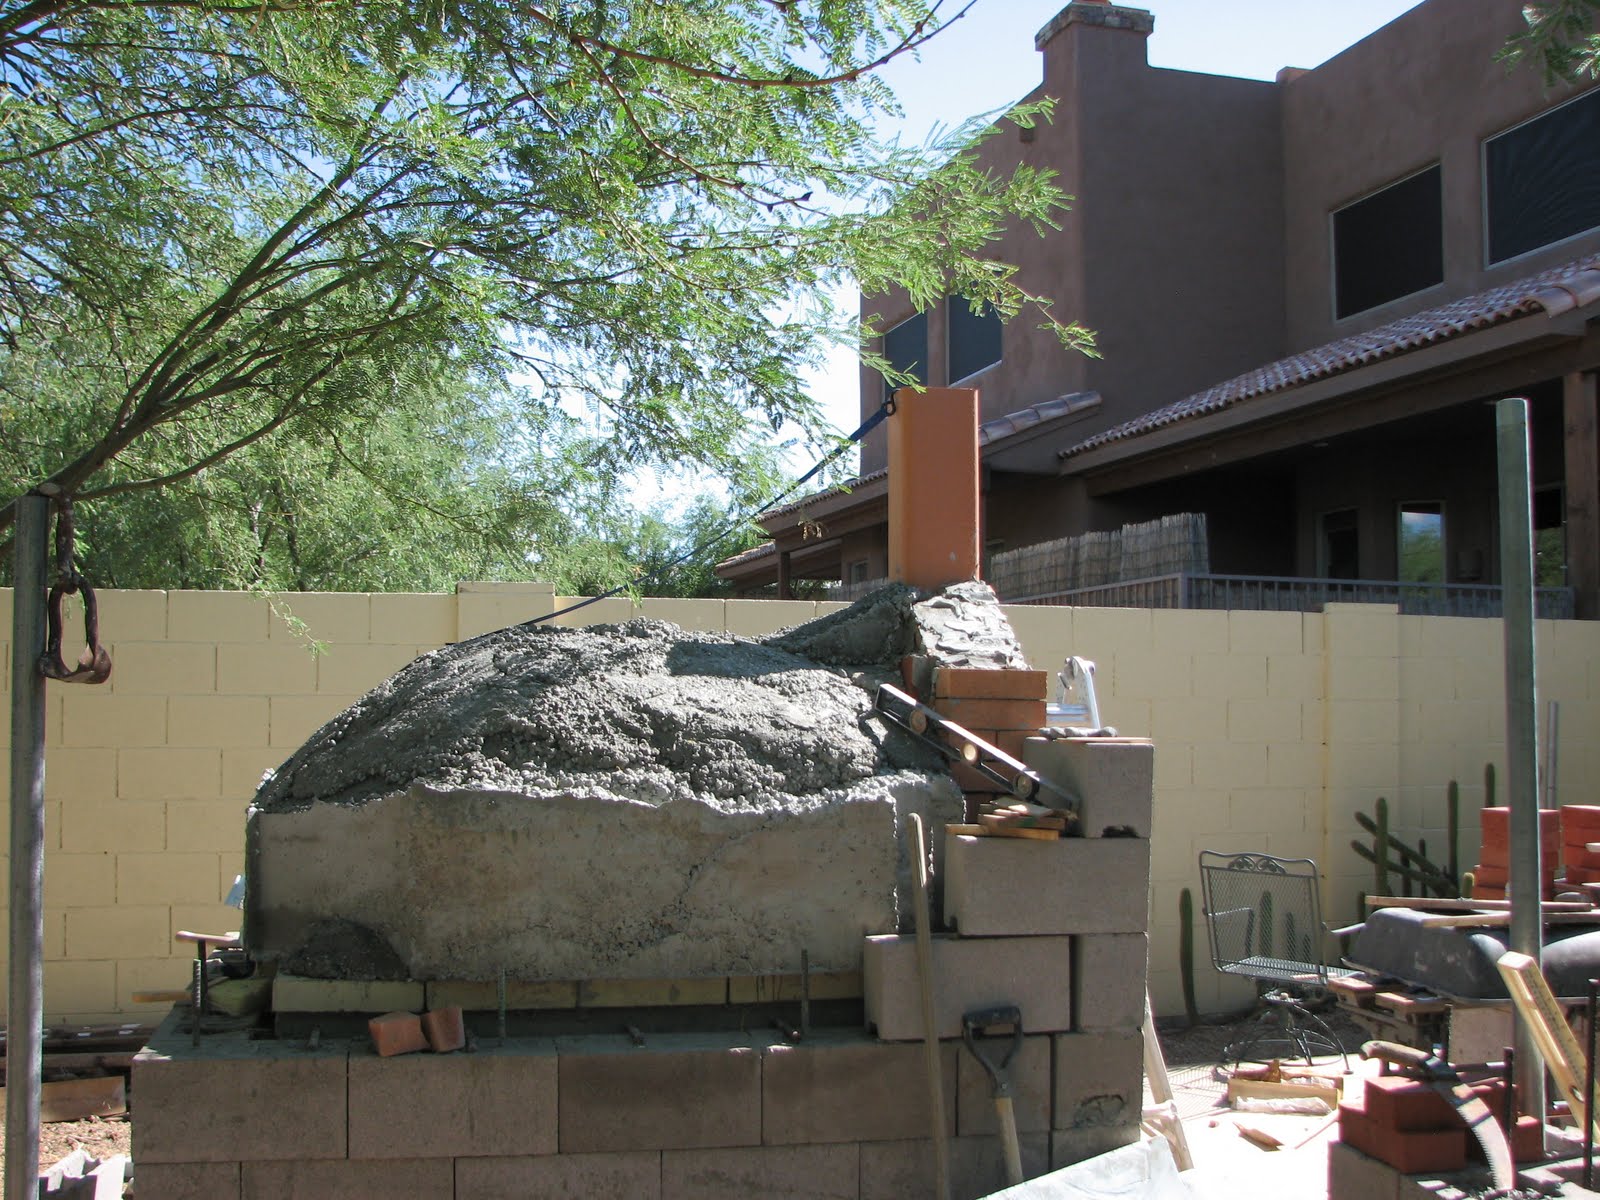
I used foam and old boards to make my forms. It was crude but saved a lot of money. It comes down to time vs. dollars. I have more time. Prior to pouring the second layer of the oven light a small fire and let it burn for a few hours to allow the oven to expand. Then pour, this will keep the oven from cracking as it expands from use.


I know this looks lop sided, it's the photo.

Use what you have on hand like this strap in case of wind as the flue pipe set!
The oven opening and arch. There are formulas that need to be followed for proper heating and flow of ash and smoke. E-mail me if you have questions or come to an oven building workshop.

First bread!
 The oven is far from finished but we can start baking. Much more to come!

I used foam to make the form for the cladding, his holds in the heat and functions as mass for extended bakings.
 This shot shows all of the cladding before we close it in the walls and add final insulation.
The front arch form and keyway.
Chimney facia with cut to follow roofline.
Rafters and block wall that will hold final insulation.
Top view of oven cladding before zonalite insulation.
Once again "mock up" of tile layout.
Dry stacked block and anchor bolt for rafter tie.
Finishing a large leaf into the counter top.
Pour of tables for bread baking classes.
Mesh and bar allow a long table with a clear span. Make sure and let this cure, keep a brace for a few weeks to fully allow the mud to harden.
Shot of tile roof. I bought the tile on Craigslist for $35.
Nice view of front of oven. I have hundreds of shots if you need to see anything just shoot me a note and I'll post it.


